ore ida crinkle fries cooking instructions
Ore-Ida Crinkle Fries Cooking Instructions: A Comprehensive Guide
Ore-Ida offers a delightful range of crinkle fries, perfect for any meal! These frozen potatoes deliver consistent crispiness, whether baked, fried, or air-fried, ensuring a satisfying experience.

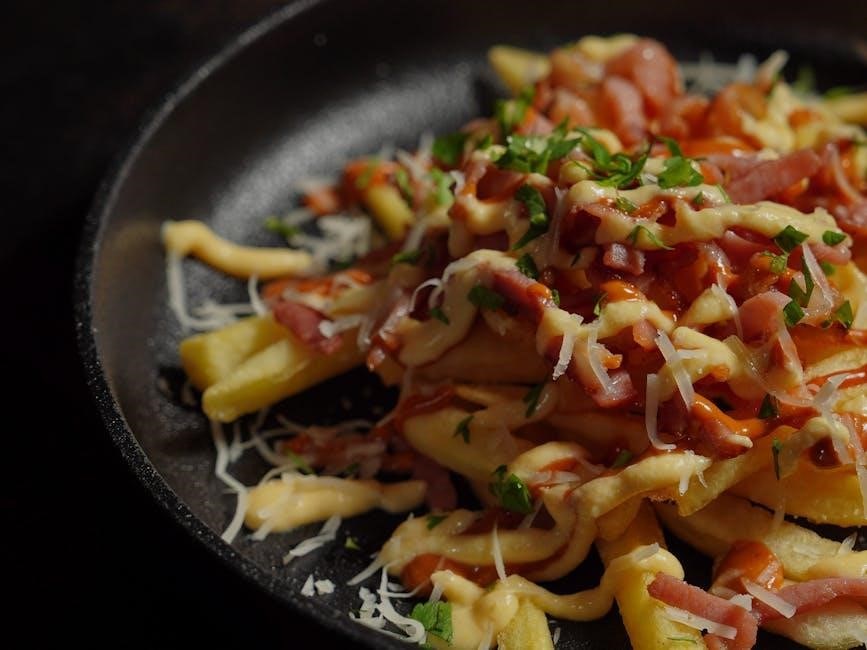
Enjoy these classic American sides with burgers, or create loaded fries with cheese and bacon – the possibilities are endless! Ore-Ida guarantees quality.
Ore-Ida Crinkle Fries have long been a staple in American households, celebrated for their uniquely textured and satisfyingly crispy profile. These aren’t just any fries; the distinctive crinkle cut maximizes surface area, leading to an enhanced crispness with every bite. Ore-Ida has cultivated a reputation for quality, ensuring a consistently delicious experience that families trust.
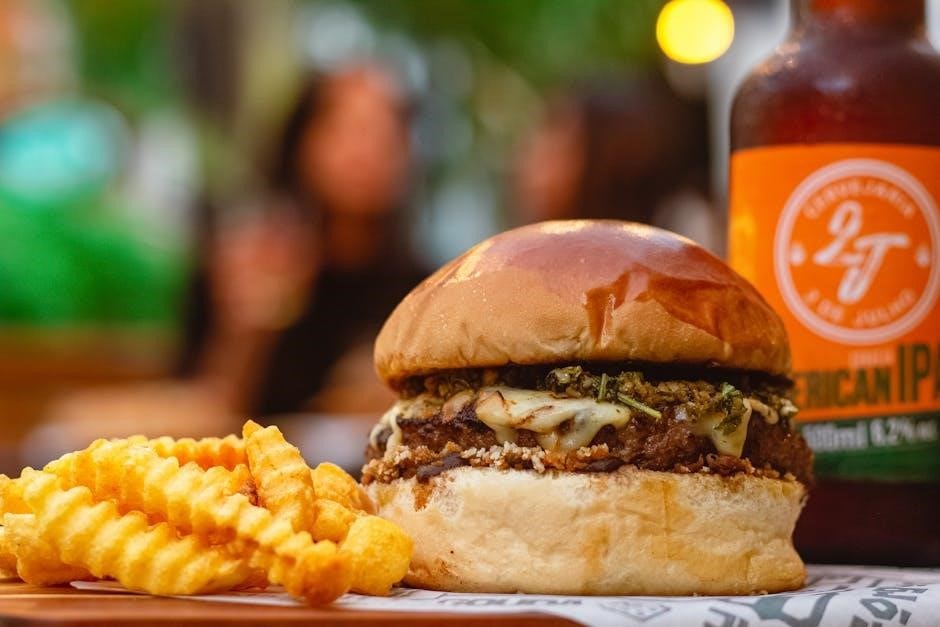
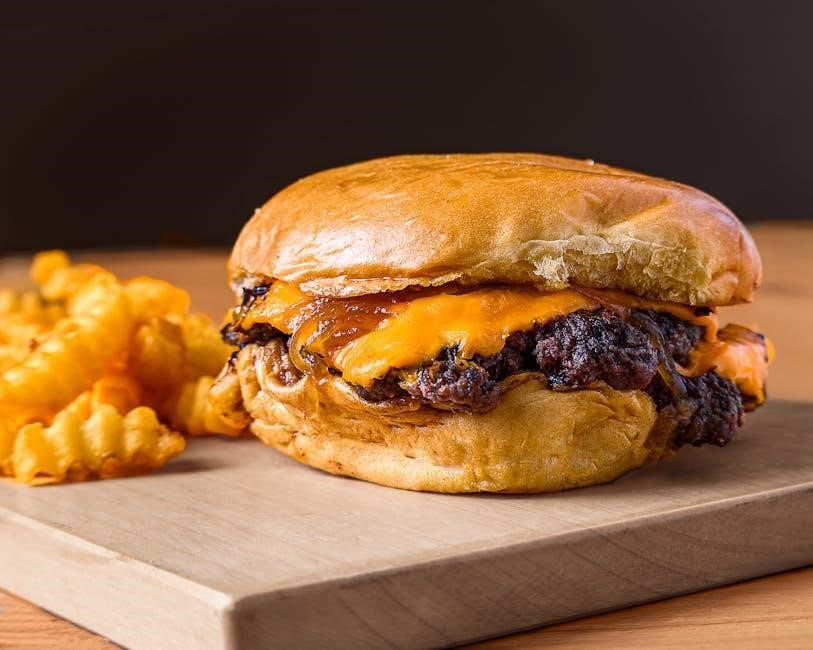
From simple weeknight dinners to celebratory gatherings, Ore-Ida fries effortlessly complement any meal. Their versatility shines through – they’re fantastic alongside classic burgers, hot dogs, or as a base for creative loaded fry creations. The convenience of a frozen product doesn’t compromise on flavor; Ore-Ida delivers a crave-worthy side dish every time.
This guide will explore the various methods for preparing Ore-Ida Crinkle Fries, ensuring you achieve perfectly golden and crispy results, regardless of your preferred cooking technique. We’ll delve into oven baking, air frying, and deep frying, providing detailed instructions and helpful tips along the way.
Understanding Different Ore-Ida Crinkle Fry Varieties
Ore-Ida offers a diverse selection of crinkle fries, catering to various preferences. Ore-Ida Extra Crispy Seasoned Crinkles are pre-seasoned, providing a flavorful kick right out of the bag, simplifying meal preparation. These are ideal for those who enjoy a readily seasoned fry without extra effort.
Conversely, Ore-Ida Golden Crinkles offer a classic, unseasoned base, allowing for complete customization. This variety is perfect for those who prefer to control the seasoning, experimenting with different spice blends or classic salt. Both varieties share the signature crinkle cut, maximizing crispiness.
Understanding these distinctions is key to achieving optimal results. While cooking methods remain largely consistent, the pre-seasoning of the Extra Crispy variety might influence your final seasoning choices. Regardless of your selection, Ore-Ida consistently delivers a high-quality, frozen potato product designed for convenience and taste.
Ore-Ida Extra Crispy Seasoned Crinkles: Overview
Ore-Ida Extra Crispy Seasoned Crinkles are a convenient and flavorful choice for a quick side dish. These fries come pre-seasoned, eliminating the need for additional seasoning, though you can always add more to taste! The signature crinkle cut maximizes surface area, resulting in exceptional crispiness with every bite.
Perfect for busy weeknights, these fries can be prepared in the oven, air fryer, or deep fryer, offering versatility in cooking methods. They are a gluten-free option, catering to dietary needs without compromising on taste or texture. Ore-Ida ensures a crave-worthy experience, making mealtime a moment to savor.
Packaged in a 26-ounce bag, they’re sealed to lock in flavor, guaranteeing a consistently delicious product. These fries are an American classic, ideal for dipping and pairing with your favorite entrees.
Ore-Ida Golden Crinkles: Overview
Ore-Ida Golden Crinkles offer a classic, golden-crisp texture that’s beloved by families. Their distinctive crinkle cut provides extra surface area for maximum crunch, making them a perfect accompaniment to any meal. These fries are unseasoned, allowing you to customize the flavor profile to your preference – from simple salt to bold spice blends.
Versatility is key with Ore-Ida Golden Crinkles; they excel when cooked in a deep fryer, achieving a traditional, restaurant-style crispness. They also perform beautifully in the oven or air fryer for a healthier alternative. Cooking time typically ranges from 3 to 7 minutes when deep frying, ensuring a light golden color.
Always ensure the oil is preheated and do not overcrowd the fryer basket for optimal results. These fries are a blank canvas for your culinary creativity!

Cooking Methods
Ore-Ida Crinkle Fries offer versatile cooking options! Enjoy them oven-baked, air-fried, or deep-fried for a perfectly crispy and golden side dish every time.
Oven Baking Instructions
Oven baking is a convenient method for preparing Ore-Ida Crinkle Fries. Begin by preheating your oven to achieve optimal crispiness. While specific temperatures may vary, a standard setting of 400°F (200°C) generally yields excellent results.
Spread the frozen fries in a single layer on a baking sheet, ensuring they aren’t overcrowded for even cooking. Baking time typically ranges from 20 to 25 minutes, but always refer to the package instructions for precise guidance.
For enhanced crispiness, consider flipping the fries halfway through the baking process. This ensures both sides are exposed to the heat, promoting a uniformly golden and crunchy texture. Remember, Ore-Ida fries are designed for convenience and quality!
Optimal Oven Temperature for Ore-Ida Crinkle Fries
Determining the optimal oven temperature is crucial for achieving perfectly cooked Ore-Ida Crinkle Fries. While variations exist based on your oven, a consistent 400°F (200°C) generally delivers the best results. This temperature strikes a balance between cooking the fries thoroughly and maximizing their signature crispiness.
Lower temperatures may lead to soggy fries, while higher temperatures risk burning them before they’re fully cooked. Maintaining a stable 400°F ensures even heat distribution, promoting a golden-brown exterior and a fluffy interior. Always preheat your oven thoroughly before adding the fries to guarantee consistent cooking.
Remember to consult the specific package instructions, as slight adjustments may be recommended for certain varieties. Ore-Ida aims for consistently delicious fries!
Baking Time Guidelines
When oven-baking Ore-Ida Crinkle Fries, adhering to proper timing is essential for optimal texture and flavor. Generally, a baking time of 20-25 minutes at 400°F (200°C) yields excellent results. However, this is a guideline, and adjustments may be necessary based on your oven and desired crispiness.
For the first 10-15 minutes, leave the fries undisturbed to allow for even browning. After this initial period, gently flip or toss the fries to ensure all sides are exposed to the heat. Continue baking for another 5-10 minutes, monitoring closely to prevent burning.
Always refer to the package instructions for specific timing recommendations. Remember, achieving golden-brown perfection requires observation and slight adjustments!
Tips for Achieving Maximum Crispiness in the Oven
To elevate your Ore-Ida Crinkle Fries to peak crispiness in the oven, several techniques prove invaluable. Firstly, ensure the fries are spread in a single layer on the baking sheet – overcrowding leads to steaming, not crisping. Secondly, lightly coat the fries with oil before baking; this promotes even browning and enhanced texture.
Preheating the oven thoroughly is crucial. A hot oven guarantees a rapid initial sear, locking in moisture and creating a delightful crunch. Avoid opening the oven door frequently during baking, as this releases heat and disrupts the cooking process.
Finally, consider using a wire rack placed on top of the baking sheet to allow air to circulate around the fries, maximizing crispness. These simple steps transform ordinary fries into golden, irresistible delights!
Air Fryer Instructions
The air fryer offers a remarkably efficient method for achieving perfectly crispy Ore-Ida Crinkle Fries. This method delivers results comparable to deep frying, but with significantly less oil. Begin by preheating your air fryer to the recommended temperature – typically around 400°F (200°C) – for optimal performance.
Arrange the frozen fries in a single layer within the air fryer basket, avoiding overcrowding to ensure even cooking. A light spray of oil can further enhance crispiness, but isn’t strictly necessary. Cook for a specified duration, usually between 10-15 minutes, depending on your air fryer model.
Shake the basket halfway through the cooking time to promote uniform browning and crisping. Monitor closely to prevent burning, and adjust cooking time as needed. Enjoy your quick and delicious fries!
Recommended Air Fryer Settings
For consistently excellent results with Ore-Ida Crinkle Fries in your air fryer, a temperature of 400°F (204°C) is generally recommended; This setting provides sufficient heat for achieving a golden-brown exterior and a fluffy interior. However, always consult your specific air fryer’s manual, as models can vary.
Power level should be set to high for optimal performance. Preheating the air fryer for approximately 3-5 minutes is crucial for even cooking. Avoid overcrowding the basket; work in batches if necessary to ensure each fry has adequate space for air circulation.
A light coating of cooking spray can be applied, but isn’t essential. Experiment with slight adjustments to temperature and time to find the sweet spot for your particular air fryer and desired level of crispiness.
Air Fryer Cooking Time
Typically, Ore-Ida Crinkle Fries require approximately 10-15 minutes of cooking time in an air fryer, when set at 400°F (204°C). However, this is a guideline, and actual cooking time can fluctuate based on your air fryer model and the quantity of fries being cooked.
After 8 minutes, it’s highly recommended to pause the air fryer and shake the basket vigorously. This ensures even cooking and prevents the fries from sticking together. Continue cooking for another 2-7 minutes, checking for desired crispiness and golden-brown color.
For extra crispy fries, an additional minute or two may be needed. Remember to monitor closely during the final stages to prevent burning. Consistent shaking is key to achieving perfectly cooked fries!
Ensuring Even Cooking in an Air Fryer
Achieving uniformly cooked Ore-Ida Crinkle Fries in an air fryer hinges on proper basket arrangement and frequent agitation. Avoid overcrowding the basket; work in batches if necessary to allow for optimal air circulation around each fry.
The most crucial step is shaking the basket midway through the cooking process – around the 8-minute mark for a typical 10-15 minute cook time. This redistributes the fries, exposing all sides to the hot air and promoting even browning and crisping.
For larger batches, consider pausing the air fryer and gently flipping the fries with tongs in addition to shaking. This guarantees consistent results and prevents some fries from becoming overly browned while others remain pale.
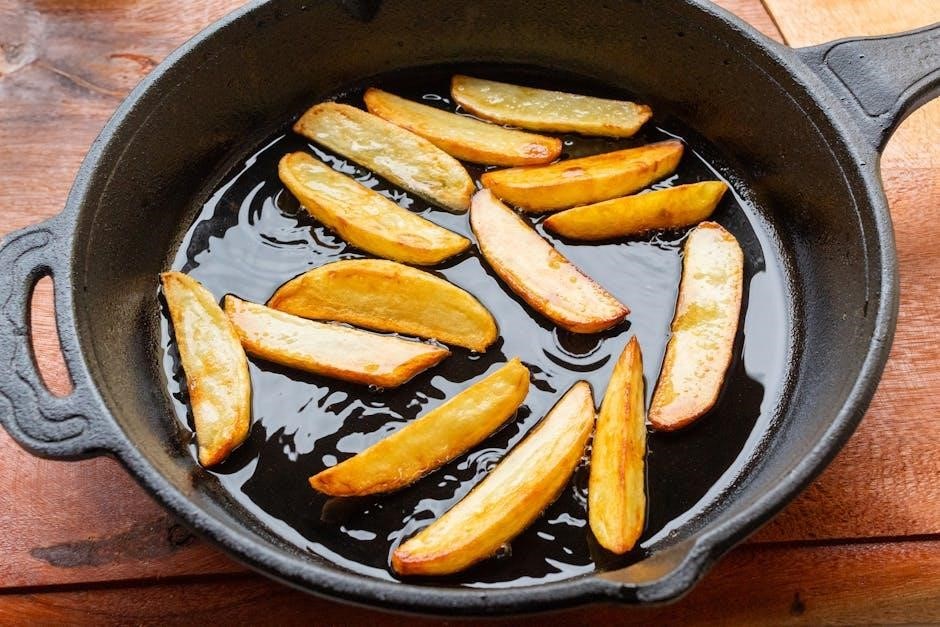
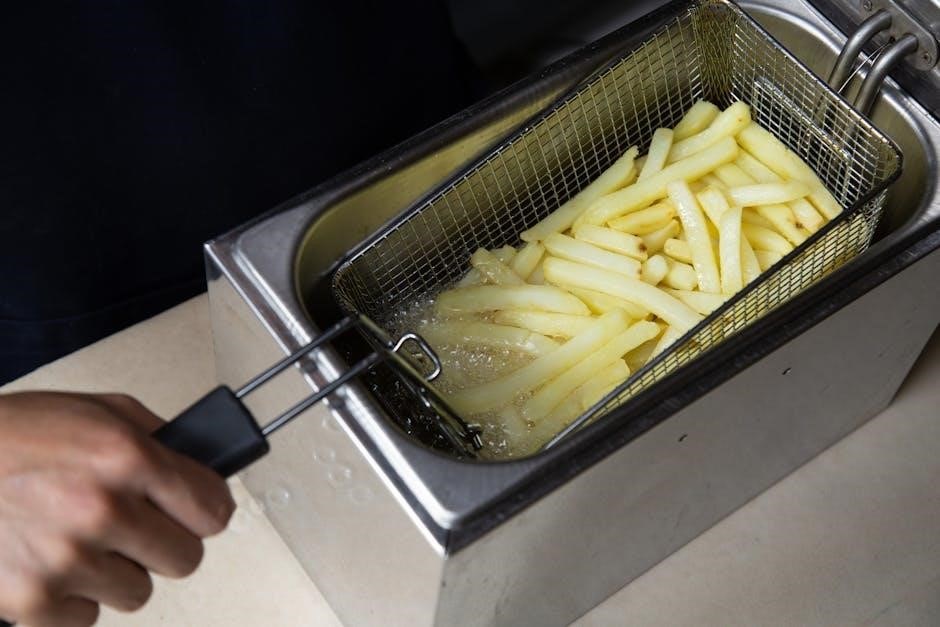
Deep Frying Instructions
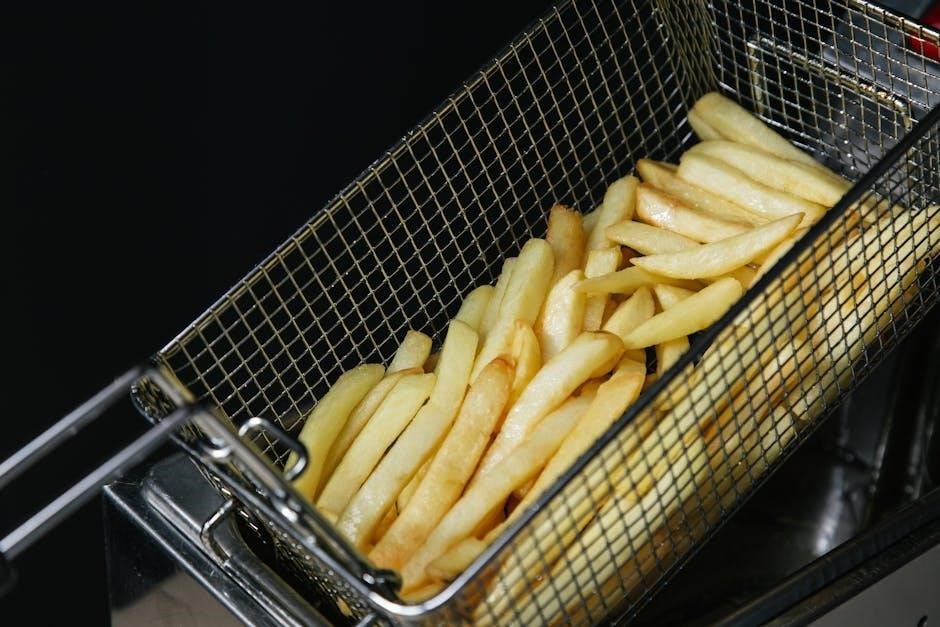
Deep frying Ore-Ida Crinkle Fries delivers a classic, crispy texture. Begin by filling a deep fryer no more than halfway with your chosen cooking oil. Carefully add the frozen fries to the fryer basket, ensuring it’s also not filled beyond the halfway point to prevent overcrowding and maintain oil temperature.
Lower the basket gently into the hot oil. Fry for approximately 3 to 7 minutes, closely monitoring the color. The fries are ready when they achieve a light golden hue. Avoid overcooking, as this can lead to burning.
Once golden, carefully remove the basket and drain the fries thoroughly on paper towels to remove excess oil. Season immediately to taste, and enjoy this indulgent treat!
Ideal Oil Temperature for Deep Frying
Maintaining the correct oil temperature is crucial for perfectly fried Ore-Ida Crinkle Fries. The ideal temperature range for deep frying these delicious potatoes is between 350°F (175°C) and 375°F (190°C). Using a thermometer is highly recommended to ensure accuracy, as fluctuating temperatures can significantly impact the final result.
If the oil isn’t hot enough, the fries will absorb too much oil, becoming soggy instead of crispy. Conversely, oil that’s too hot will cause the exterior to burn before the inside is fully cooked. Preheating the oil thoroughly before adding the fries is essential for optimal crispiness and even cooking.
Consistent temperature yields golden, craveable fries!
Deep Frying Time Duration
The recommended deep frying time for Ore-Ida Crinkle Fries typically ranges from 3 to 7 minutes, but this can vary depending on the amount of fries added to the fryer and the specific oil temperature. It’s best to work in batches, avoiding overcrowding the fryer basket, to ensure even cooking and maximum crispiness.
Monitor the fries closely during the frying process. They are ready when they achieve a light golden color. Avoid overcooking, as this can lead to burning. Once golden, carefully remove the fries from the oil using a slotted spoon or fryer basket and place them on a paper towel-lined plate to drain excess oil.
Season immediately for best flavor!
Safety Precautions for Deep Frying
Deep frying involves hot oil and requires extreme caution. Always ensure the deep fryer is placed on a stable, heat-resistant surface, away from flammable materials. Never fill the fryer beyond the recommended maximum fill line – typically halfway full – to prevent oil overflow.
Carefully lower the basket of frozen Ore-Ida Crinkle Fries into the hot oil to avoid splattering. Never leave a hot fryer unattended. Keep children and pets away from the frying area. In the event of an oil fire, never use water; instead, smother the flames with a lid or fire extinguisher specifically designed for grease fires.
Always unplug the fryer before cleaning and allow the oil to cool completely.
Preparation & Seasoning
Ore-Ida Crinkle Fries are ready to cook straight from the freezer! Enhance their flavor with your favorite seasonings, or enjoy them with a delicious dipping sauce.
Preparing the Fries Before Cooking
Ore-Ida Crinkle Fries are incredibly convenient, designed for ease of preparation and maximum flavor. Fortunately, minimal prep work is required before you begin cooking – a key benefit for busy weeknights or quick meals! Because they are pre-cut and often pre-seasoned (depending on the variety), you can generally add them directly from the freezer to your chosen cooking method.
However, for optimal results, especially when deep frying, it’s beneficial to ensure the fries are separated as much as possible before adding them to the hot oil. This prevents clumping and promotes even cooking, leading to consistently crispy fries. Gently shake the bag to loosen any frozen-together pieces. Avoid rinsing the fries, as this can remove some of the seasoning and reduce their crispness. Simply spread them in a single layer on a baking sheet or carefully place them in the fryer basket – and you’re ready to go!
Seasoning Options for Ore-Ida Crinkle Fries
Ore-Ida Crinkle Fries often come pre-seasoned, offering a delicious base flavor, but don’t hesitate to customize! Classic Salt Seasoning is always a winner – a simple sprinkle of sea salt or kosher salt immediately after cooking enhances their natural potato taste. For a bolder flavor profile, explore exciting Spice Blend Suggestions.
Consider a smoky paprika blend, a zesty Cajun seasoning, or a savory garlic and herb mix. Experiment with combinations like chili powder, cumin, and a touch of cayenne pepper for a spicy kick. Even a simple blend of black pepper and onion powder can elevate your fries. Remember to season immediately after removing them from the heat, as this helps the seasoning adhere better. Don’t be afraid to get creative and find your perfect seasoning combination!
Classic Salt Seasoning
Classic Salt Seasoning remains the most popular and versatile choice for Ore-Ida Crinkle Fries, enhancing their natural potato flavor without overpowering it. The key lies in the type of salt used. Coarse sea salt or kosher salt are preferred over fine table salt, as they provide a more satisfying crunch and distribute flavor more evenly across the crinkle cut surface.
Timing is crucial: season immediately after removing the fries from the oven, air fryer, or deep fryer while they are still hot. This allows the salt crystals to adhere effectively. A light, even sprinkle is all that’s needed – avoid over-salting. For an extra touch, consider using flavored salts, like garlic salt or smoked salt, to add a subtle nuance to this timeless seasoning method.
Spice Blend Suggestions
Elevate your Ore-Ida Crinkle Fries beyond simple salt with exciting spice blends! For a smoky kick, combine paprika, garlic powder, onion powder, and a pinch of cayenne pepper. A Southwestern flair can be achieved with chili powder, cumin, and a touch of smoked paprika.
Italian seasoning – a mix of oregano, basil, thyme, and rosemary – offers a herbaceous twist. Feeling adventurous? Try a Cajun blend with paprika, cayenne, garlic powder, and black pepper. Remember to apply the spice blend immediately after cooking, while the fries are still hot, for optimal adhesion. Experiment with different ratios to find your perfect flavor profile, and don’t be afraid to get creative!
Dipping Sauce Recommendations
Ore-Ida Crinkle Fries are fantastic on their own, but a great dipping sauce elevates the experience! Classic ketchup is always a winner, providing a sweet and tangy complement. For a creamy option, consider ranch dressing or a garlic aioli.
Spice lovers might enjoy sriracha mayo or a chipotle dipping sauce. A tangy barbecue sauce adds a smoky sweetness, while honey mustard offers a delightful balance of flavors. Don’t overlook the simplicity of a good old-fashioned fry sauce – a blend of ketchup and mayonnaise. Explore beyond the usual suspects and discover your perfect pairing for these crispy, golden fries!
Troubleshooting & Tips
Ore-Ida fries sometimes need a little help! Adjust cooking times for desired crispness, avoid overcrowding, and monitor temperatures closely for perfect, golden results.
Fries Not Crispy Enough?
Achieving that satisfying crunch with Ore-Ida crinkle fries requires attention to detail. If your fries aren’t crispy, several factors could be at play. First, ensure your cooking oil (for deep frying) reaches the ideal temperature – not too low, or they’ll absorb oil instead of crisping.
For oven baking or air frying, preheating is crucial! A cold oven or air fryer won’t deliver the necessary initial heat shock for crisping. Avoid overcrowding the baking sheet or fryer basket; fries need space for hot air to circulate.
Also, consider the moisture content. Excess moisture hinders crisping. Ensure fries are not clumped together when frozen, and avoid covering them during baking. Finally, a slightly longer cooking time, monitored closely to prevent burning, can often resolve the issue.
Fries Burning Too Quickly?
If your Ore-Ida crinkle fries are browning too rapidly, it indicates the cooking temperature is likely too high. For deep frying, immediately reduce the heat and monitor closely. Oven temperatures can vary, so double-check your oven’s calibration and consider lowering the setting slightly.
In an air fryer, reducing the temperature and potentially shortening the cooking time are key adjustments. Overcrowding can also contribute to uneven cooking and burning; ensure fries are spread in a single layer.
Remember that different Ore-Ida varieties may have slightly different cooking requirements, so always refer to the package instructions. Regularly flipping or shaking the fries during cooking promotes even browning and prevents scorching. Don’t overcook – a light golden color is the goal!
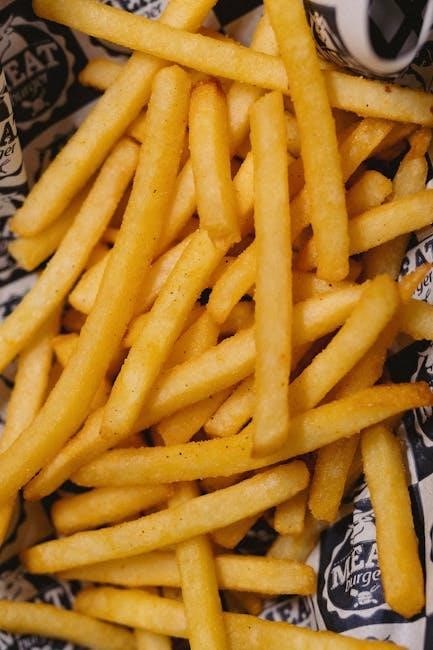
Achieving Golden Color
To achieve that perfect golden hue with your Ore-Ida crinkle fries, maintaining the correct cooking temperature is crucial. For oven baking, ensure even heat distribution and avoid overcrowding the baking sheet. In a deep fryer, carefully monitor the oil temperature, aiming for the recommended range specified on the packaging.
Air frying requires finding the sweet spot – a temperature high enough for crispness, but not so high as to burn. Regularly flipping or shaking the fries during cooking ensures even exposure to heat, promoting uniform golden-brown color.
Avoid overcooking, as this can lead to excessive browning and a potentially burnt taste. A light golden color signifies perfectly cooked, crispy fries!
Storage of Leftover Fries
Proper storage is key to maintaining the quality of leftover Ore-Ida crinkle fries. Allow the fries to cool completely before transferring them to an airtight container. This prevents condensation, which can lead to sogginess. Refrigerate the cooled fries promptly, ideally within two hours of cooking.
Stored correctly, leftover fries can remain palatable for up to three to four days. However, be aware that reheating may not fully restore their original crispness. To minimize sogginess during reheating, consider using an air fryer or oven rather than a microwave.
For longer-term storage, freezing is an option, though texture may be slightly altered upon thawing.

Nutritional Information & Product Details
Ore-Ida crinkle fries offer a convenient and tasty side dish, with nutritional facts available on packaging. They come in various sizes, typically a 26-ounce bag.
Ore-Ida Crinkle Fry Nutritional Facts
Ore-Ida Crinkle Fries, while a delicious treat, offer specific nutritional information per serving. A typical serving size (approximately 3oz or 85g) contains around 220 calories. The caloric breakdown includes approximately 11g of total fat, with 1.5g of saturated fat and 0g of trans fat. Cholesterol content is generally 0mg per serving.
Sodium levels can vary, but generally range around 480mg per serving. Carbohydrates contribute approximately 32g, with 3g of dietary fiber and less than 1g of sugar. Protein content is around 3g per serving. These fries are gluten-free, making them suitable for individuals with gluten sensitivities.
It’s important to note that these values are estimates and can slightly differ based on specific product variations and preparation methods. Always refer to the packaging for the most accurate and up-to-date nutritional information. Enjoy Ore-Ida Crinkle Fries as part of a balanced diet!
Product Packaging and Sizes
Ore-Ida Crinkle Fries are readily available in a variety of packaging sizes to suit different household needs and consumption levels; The most commonly found package is a 26-ounce resealable bag, designed to maintain freshness and lock in flavor. This size is ideal for families or frequent fry consumers.
However, Ore-Ida also offers larger, bulk-sized options, such as 32-ounce and even 5-pound bags, catering to larger gatherings or commercial use. Packaging materials are typically constructed from durable plastic, ensuring the fries remain frozen during transport and storage. The bags feature clear labeling with cooking instructions, nutritional information, and product details.
Occasionally, you may find Ore-Ida Crinkle Fries packaged in foodservice-sized containers for restaurants and institutions. Always check the packaging for specific weight and serving suggestions.